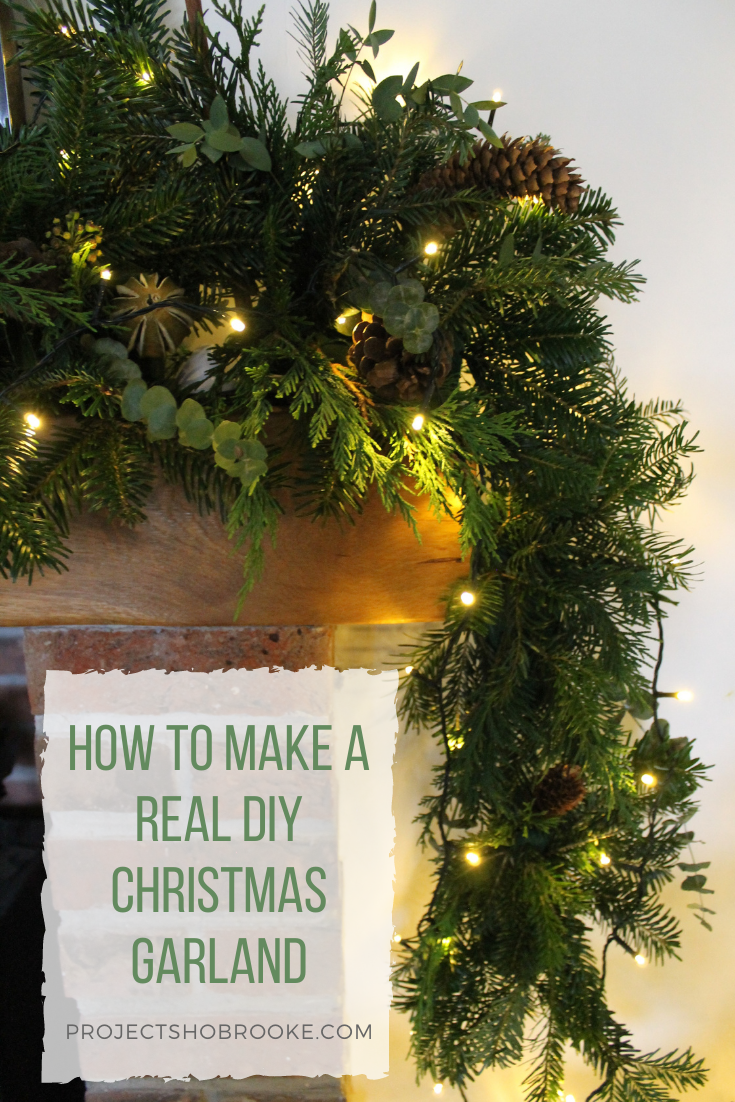
How to make a real DIY Christmas garland
- Kath
- Nov 29, 2021
- 4 min read
Updated: Nov 30, 2021

There is something about having a Christmas garland that you have made. I love it when people compliment something and you get to say ‘thanks, I made it’. I have been making my own Christmas garland for 2 years now and have always wanted to blog about it. So here it is.
We have always had a real tree so for us, it didn’t feel right to have a faux garland. I bought one the first year we lived here but it just didn’t look right. Our tree sits next to the fireplace so next to a real tree and it didn’t work. This garland is 100% real foliage and ours usually lasts for the whole of December

What you need:
Oasis – measure the length of your fireplace to determine how many oasis blocks you will need. Our fireplace is 5ft and I use this oasis that is 48 x 9 x 5 cm and I have two. I recommend you buy an oasis with a good tray to allow you to water your oasis but not damage your fireplace. This year I have also added an overhang on one side. For the overhang I used this type of oasis.
Secateurs – essential for any floral project.
Foraging goodies – Head out to the woods and see what you can find. Pinecones, acorns, interestingly shaped branches, holly, ivy literally anything you like the look of.
Christmas tree branches – We cut the lower branches off of tree usually so use this as the base of our garland.
Dried extras – I’m talking dried oranges, cinnamon sticks, dried limes. You can usually pick up a bag of these dried items in supermarkets or online over Christmas or make your own.
Floral wire – to attach your dried extras.
Stick on hooks - to secure the cylinder oasis. You could use command strips but I just used normal stick on hooks and stuck them to some slate mats that I have (image below).
Something to protect your mantlepiece - I use narrow slate placemats.
Method:
Step 1 – Soak your oasis
Remove the oasis from the tray and soak the oasis in the bath for about 30 minutes before creating the garland.

Step 2 – Prep your mantle and foliage
Add your oasis trays to the mantle. If you are using the cylinder oasis which doesn't come in trays you will need to put something on the mantle to protect it. We have narrow slate placemats that work perfectly and I use stick on hooks to secure the oasis. This is my first time using this so hoping it will hold.

Split up all your foliage and extras and organise them in to categories. I like to make sure I have an even number of everything because I think symmetry is really nice in a garland but that’s just a personal preference. If you are using dried extras like oranges, pinecones etc attach them to some floral wire. This will make it easier to stick them in to the oasis.

Step 3 – Start at the back
I like to start on the corners and add tall sticks. If you don’t have anything behind your garland start adding your tall sticks across the entire back of the oasis block. Or if you have something behind (a TV or mirror) just frame the item so your garland doesn’t block it. Below is about how many pines I remove from the Christmas tree branches before I add it to the oasis.

Step 4 – Move to the front
Add some shorter sticks to the bottom of the oasis pointing downwards so it hides the oasis and tray.
Important – if you are anything like me, at this point you will probably think ‘what am I doing this looks awful’ but don’t worry, have a cup of tea and a biscuit and I promise it will start to take shape soon. Here's me doing exactly that!

Step 5 – Fill in the gaps
You will probably now have gaps in the middle of the oasis. Add some smaller greenery to the middle of the oasis and also some of your dried extras – oranges, limes, pinecones etc. Keep taking a step back to check how it is all looking. Remember if you don’t think something looks right, just take it out and move it.
Step 6 - Light it up
I think fairy lights make a garland. It's so cosy, especially with the fire on.

Maintenance tips
Your garland should last for the entire festive period. But this will only be the case if you maintain your garland. I highly recommend getting a spray bottle as this will make watering much easier. I probably water mine every 2-3 days just with the spray bottle. If you notice that any greenery is dying, jut replace with fresh foliage.
And there you have it, your very own real garland. I won't lie to you and tell you it won't be stressful because at times it will be but hang on in there, have a cup of tea and all will be OK.

Comentarios